Although FireAlpaca can help you to finish comic panels in 10 seconds, you still need to prepare your storyboard beforehand.
(1) Create panels on a normal canvas
Click “File” on the menu bar, select “New” to create a new canvas in desired size. This time, we’ve created a canvas that is in 2000px width and 3000px height.
Now, let’s try to create the comic panels in 10 seconds.
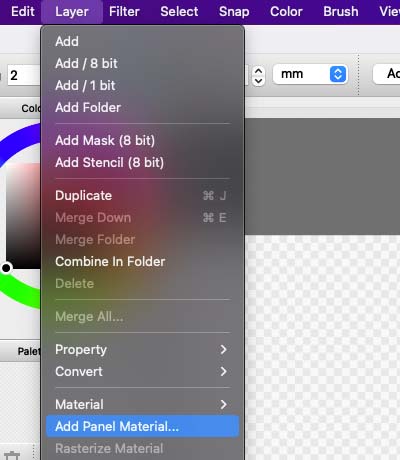
Select “Add Panel Material” from the “Layer” menu. It takes 2 seconds.
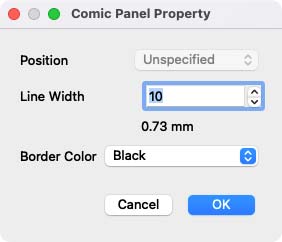
When the “Comic Panel Property” dialog box appears, specify the line width (if necessary) and click OK. A frame will be added to the center of the canvas. 4 seconds so far.
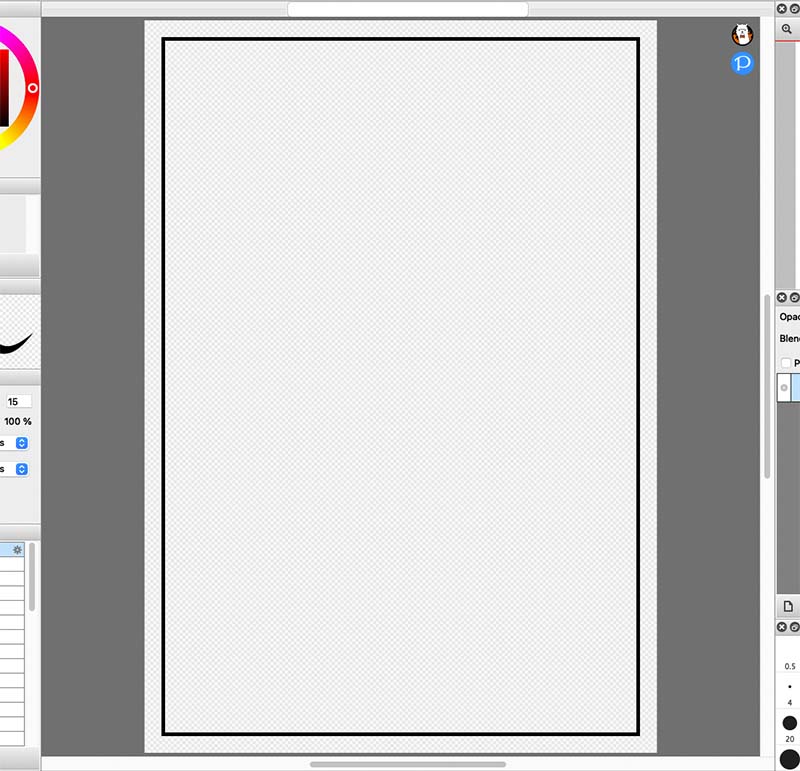
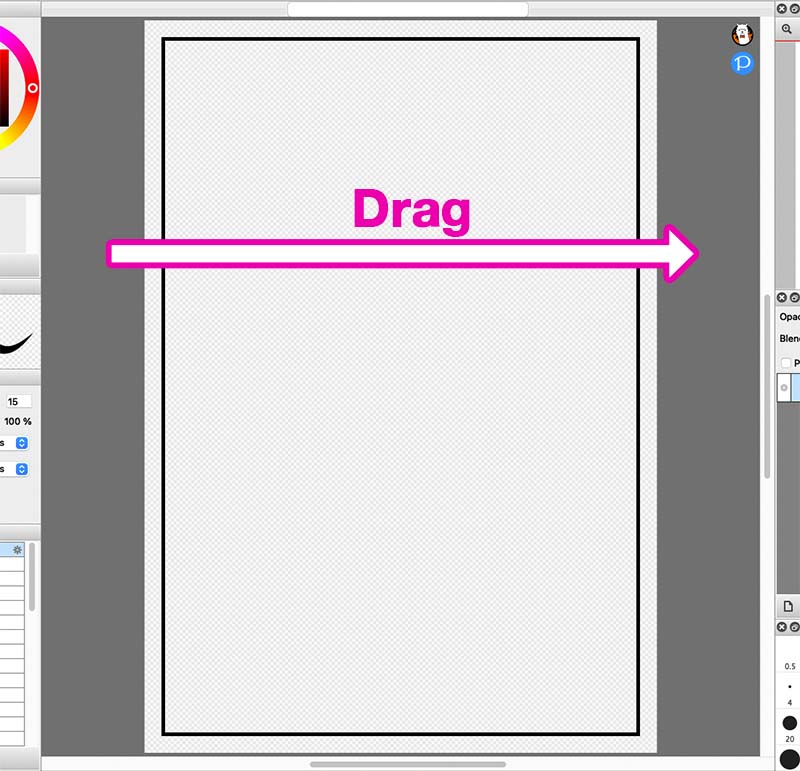
The tool will automatically switch to the divide tool, so let’s drag the tool on the canvas horizontally to split the panel in the center. 6 seconds so far.
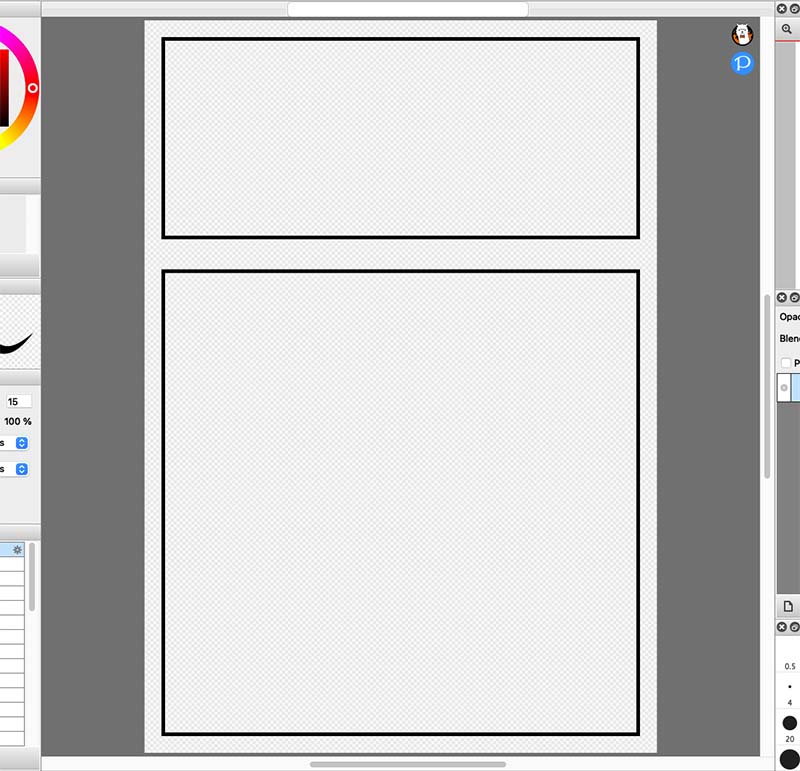
Try to drag vertically. 8 seconds so far.
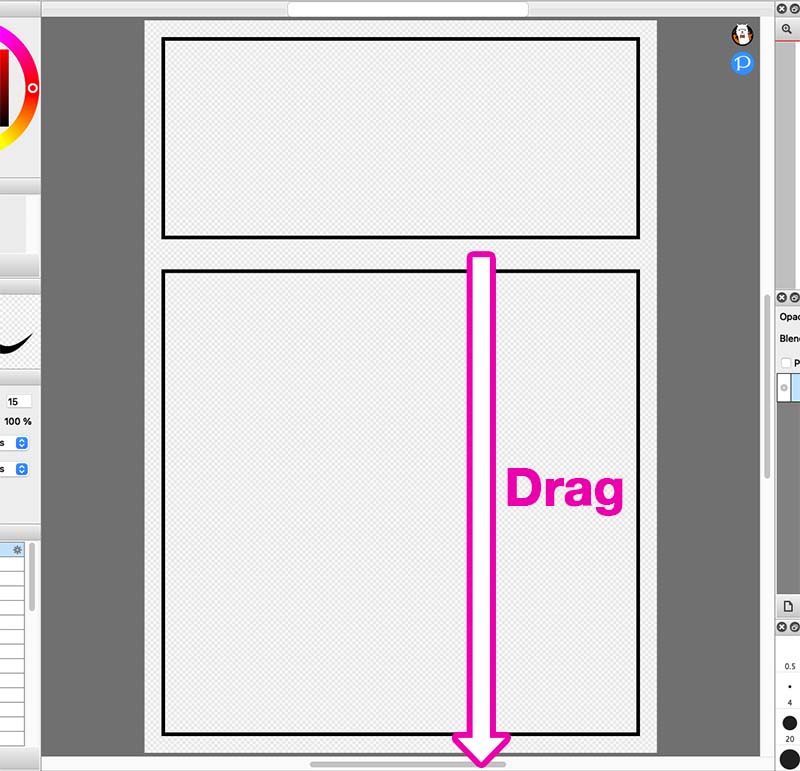
drag3.png (Image:)
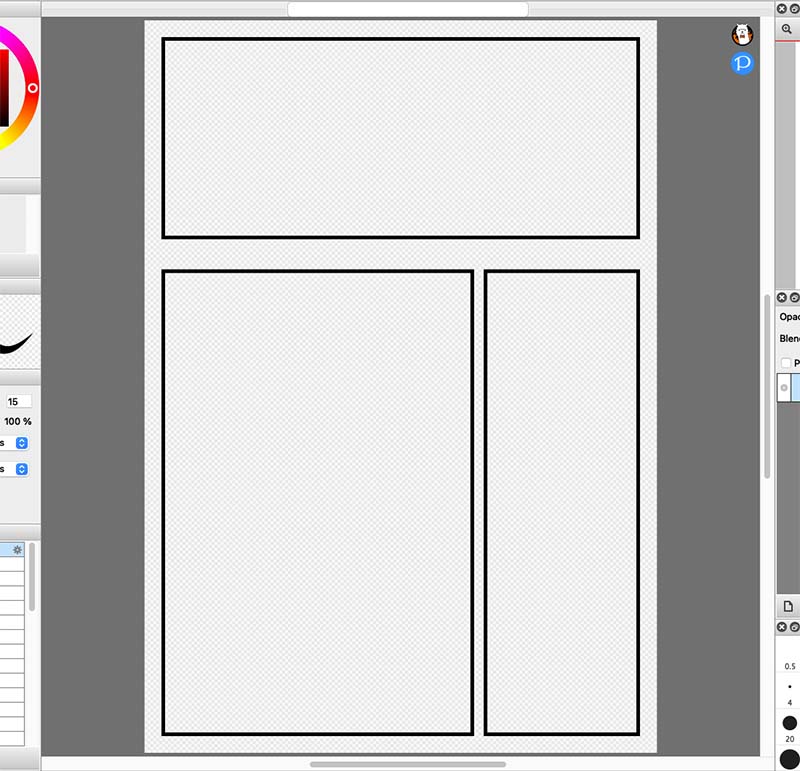
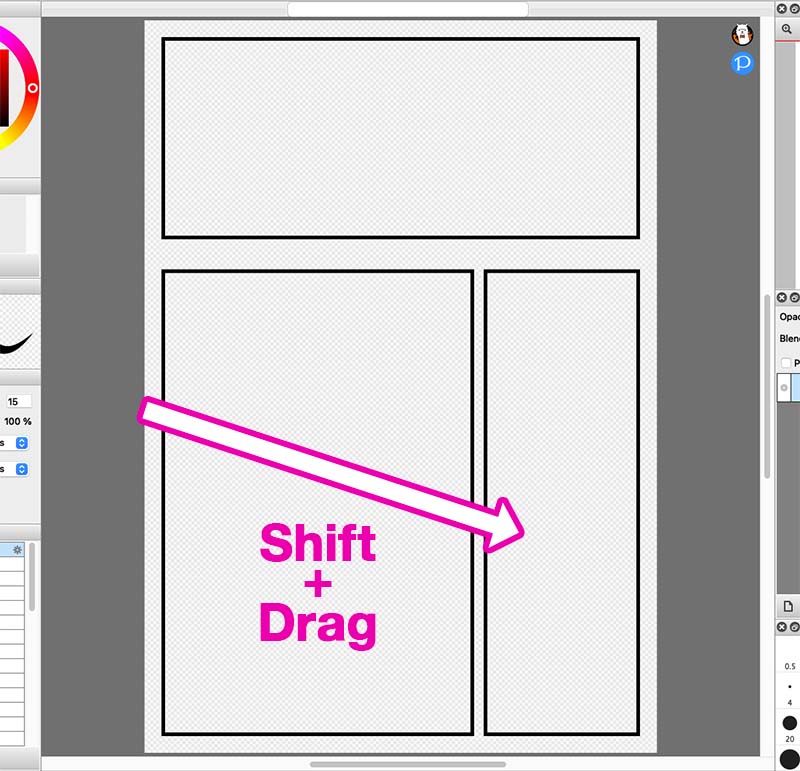
The previous two frames were rectangles that can be perfectly divided horizontally and vertically. To split a frame diagonally, hold the “Shift” key while dragging. 10 seconds so far.
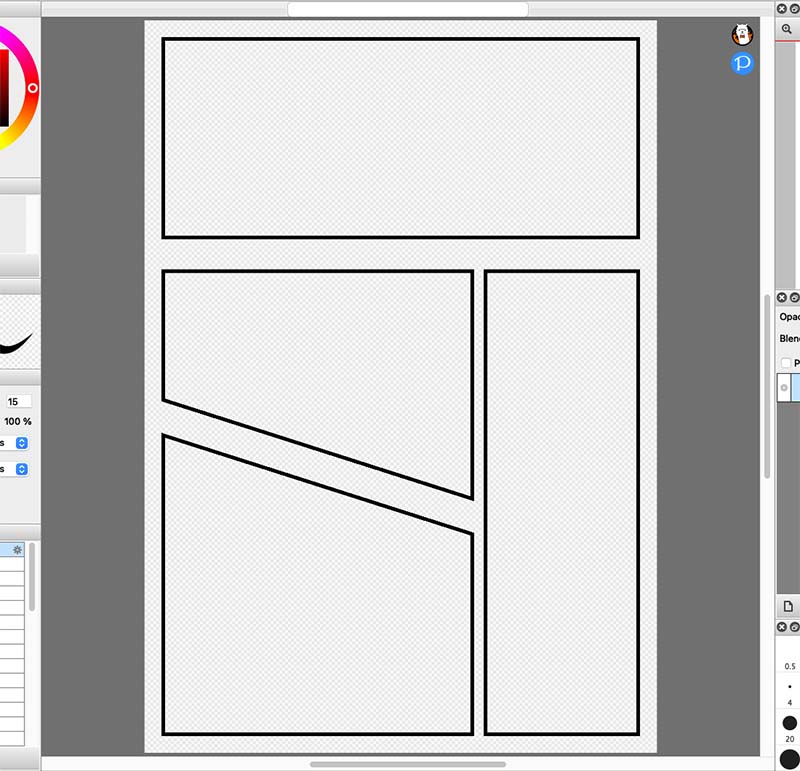
That’s how we can finish the comic panel in 10 seconds!
(2) Create panels on a comic canvas
Click “New” in the “File” menu, select the “comic” tab, and choose “Doujinshi” as the template. After you have selected the type of template, default values like “width” and “height” will be set.
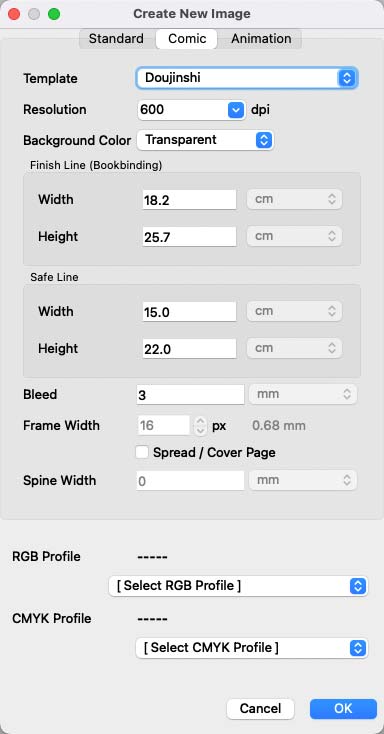
Click “OK” to create a new document.
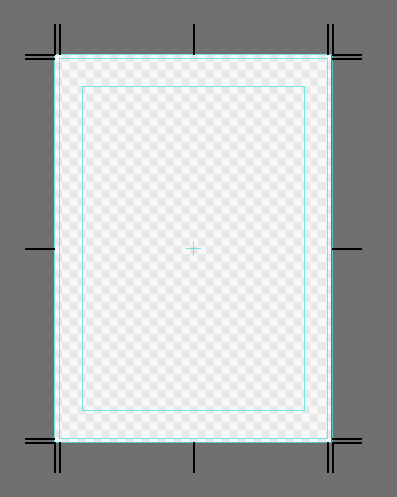
Here is a canvas that looks different from the normal canvas. This template is very useful for drawing comics. You can see the two light blue borders.
The inner border serves as a guide for your comic panels.
The outer border serves as a guide for the trim size.
There is a margin outside the outer border where you can draw more, right? Why do we need such a margin? Because when magazines and doujinshi are being printed in the factory, they are printed on papers that are larger than the standard size of the book. After that, they are cut to the standard size, but sometimes they are not cut accurately.
If you draw exactly within the trim size, white margin may appear when the paper is not cut at the standard size (i.e. larger than the trim size). To avoid this situation, your drawing should bleed over the border. This margin is used as a guide. For example, you should make the color bleed through to the canvas edge, not just the outer border.
(3) Notes on panel material
The panel material is independent of pixel data in the layer. If two layers merge, they will follow the order below.
- 1. Pixel data of the lower layer
- 2. Panel material of the lower layer
- 3. Pixel data of the upper layer
- 4. Panel material of the upper layer
In other words, you cannot use brush tool or shape tool in the same layer of the panel material. If you want to draw on top of the panel material, you need to create a layer on top of it.


