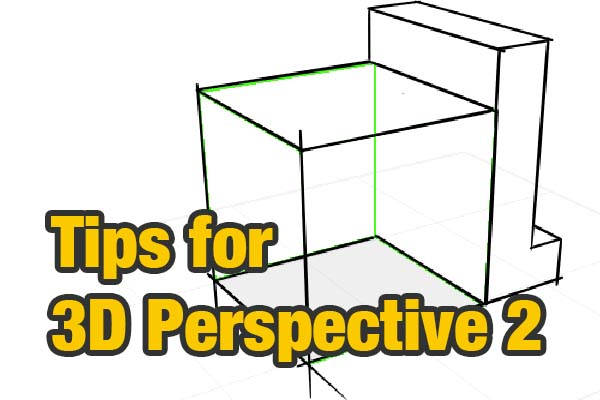
This is a more step instruction of using the 3D perspective function. In the first article, camera operations are explained. If you haven’t check it, please back to the first article.
Tips for 3D Perspective (1) The 3D Perspective feature, which allows you to snap to objects in 3D dimension (such a[…]
For this time, let’s draw with a snap brush with edited 3D perspective.
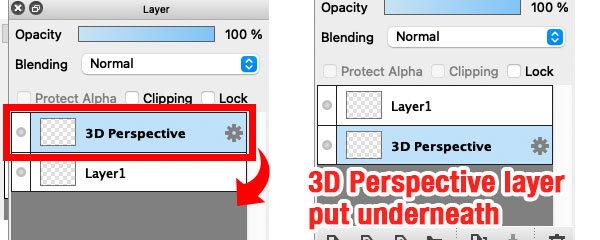
First, move the 3D Perspective layer to the bottom of the layer (you can also create a layer above the 3D Perspective layer). The 3D perspective layer must be placed below the drawing layer, because the drawing area will be hidden by the 3D perspective layer.
Let’s try the snap!!
First, choose the layer you would like to draw. (Suppose choose layer 1) and click on “3D Perspective Snap” from bar.

●After clicking on the button, select “Which object you would like to put snap on?” Multiple objects can be placed at 3D space, so you can choose any of them.
As Parallel Snap, you could use ● button to select an angle.
As 3D Perspective Snap, you are to select object by using ● button.

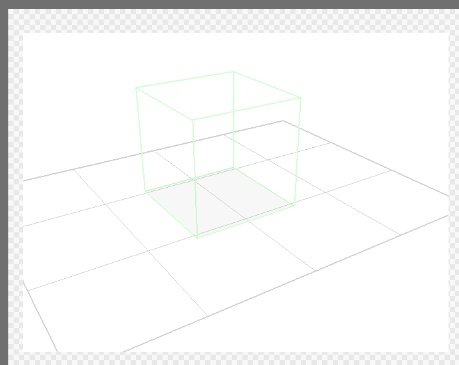
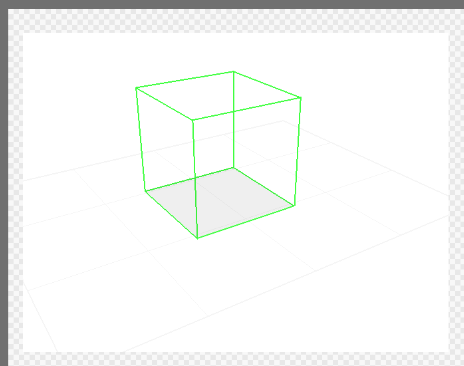
Like any other brush, function of itself is for drawing on the layer. The nearest edge will be proceeded with the snap, brush will be put in effect. (Actually, it is snapped to the nearest edge along with the direction, drawn by the brush.)
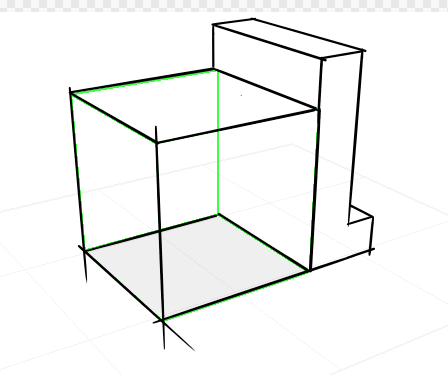
If you want to snap on different objects, press ● button once again.

